You are of course an avid Revit user and youve just been commissioned to design a new high rise office building in the centre of your town. ( Its going to be the first one in fact ! )
You open Revit , knock your design out in next to no time and decide to add some realistic shadows to your presentation.
Youre going to use the Advanced Model Graphics shadow settings By Date Time and Place
Wait a second, what’s going on here... ? you say, ... there are settings for Antananarivio Madagascar, Dohar ( Ad Dawhah ) Qatar and Ulaanbaatar, Mongolia, but none for your beloved Woop Woop. What to do ?
We can help you there. Just move to Sydney!
No, sorry, there is another solution. You can Edit the Cities list ( yes, I know ... West Woop Woop isnt really a city,... its more a place you drive through, but bear with me here)
To add a city
1 Open a 3D View..
2 Select Settings, select SUN.
3 Right-click anywhere in the Cities list.
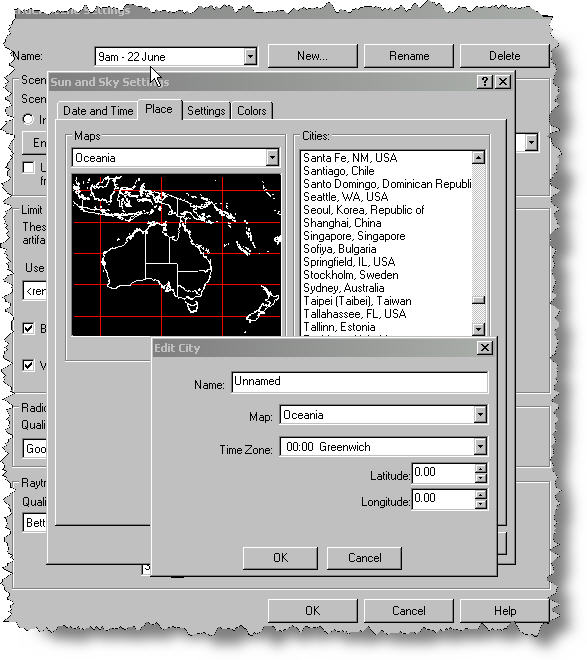
4 From the shortcut menu, click Add.
5 In the Edit City dialog box, enter the name, map, time zone, latitude, and longitude for the city.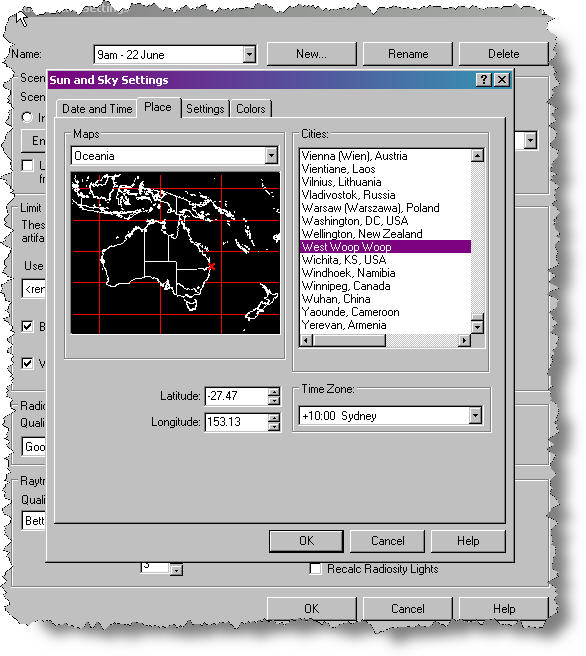
To edit a city
4 On the Place tab, right-click on a city in the list, and from the shortcut menu, click Edit.
5 In the Edit City dialog box, enter the name, map, time zone, latitude, and longitude for the city.
To delete a city
4 On the Place tab, right-click on a city in the list, and from the shortcut menu, click Delete.
Of course, we are always saying that there is more than one way to do most things in revit, so for those of you who like to get their hands dirty, here’s another way.
Go to the folder containing your Revit program files and find the folder Ar3Redist\UnicodeENU.
In that folder find the file ar_city.uni . Rename it to something like ar_city.old , so that you have a backup if necessary.
File path example :-C:\Program Files / Autodesk Revit Building 8.1\Program\Ar3Redist\UnicodeENU\Ar_city.uni
The file looks like this.
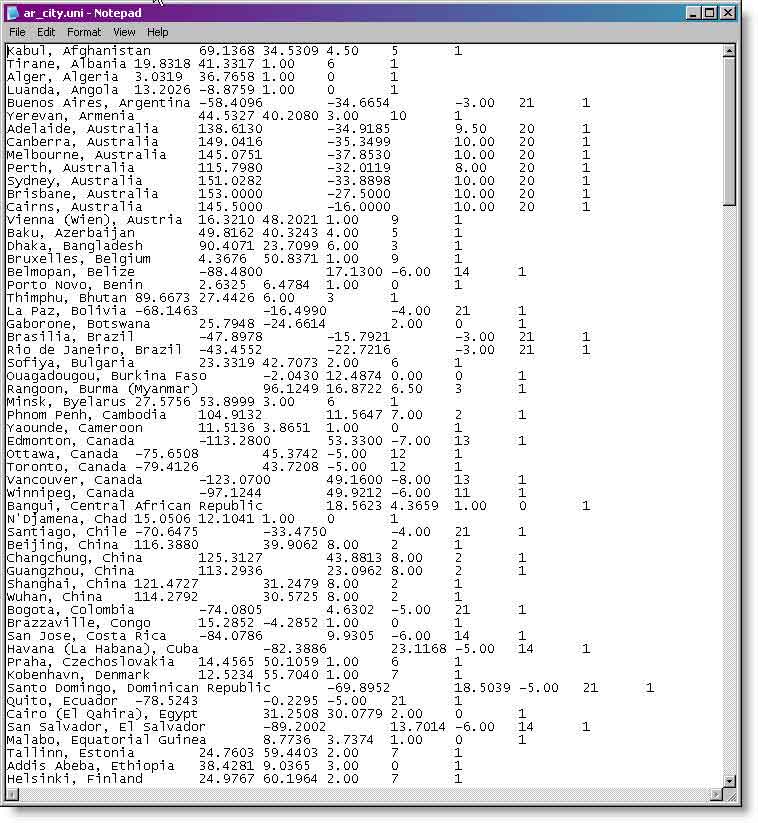
You can add a row and enter the relevant latitude and longitude and time zone and map reference there if you wish.
So now youre on the Revit map !
Before we finish, I’d just like to send a warm hullo to all our Revit colleagues in Ougadougou, Burkina Faso, who do not have to go this process, because their City is already on the map !

No comments:
Post a Comment